April 20, 2020
Posted by: Swenson Shear
The Best Metal Roofing Tool for Notching
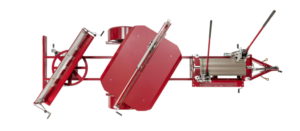
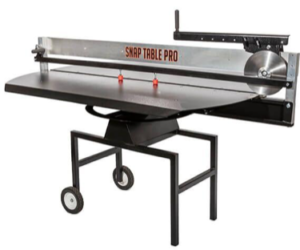
The process of notching a standing seam metal roof panel can be tedious and time consuming, especially when done by hand with a hand notcher. Swenson Shear has made this process infinitely easier with our Standing Seam Notcher, available either as a standalone tool or as part of the towable SnapTable PRO. Widely hailed as the best metal roofing tool for notching, this notcher can accommodate panels from 12″-24″ and can be used for straight cuts as well as angle cuts. It also features a 29” offset.
The following how-to videos demonstrate some of the most common tasks and adjustments you can make with the Swenson Shear Standing Seam Notcher to ensure the perfect notch every time.
How to Square Your Notcher
If your notcher has any kind of wobble or getting stuck on the panel, it generally means it has fallen out of square. Make the following simple adjustments to square your notcher.
- Take a 3/4″ wrench and place it between the roller and the frame on the left side of the mechanism.
- Tighten with a half-turn.
- Repeat the process between the roller and the frame on the left side.
How to Add an Angle Notcher to Your SnapTable PRO
- For this task, you need 9/16” and 1/2″ wrenches with extension (having a rachet or impact drive will help)
- Insert the safety pin into the notcher and carefully lift it out of the carriage.
- Slide the carriage all the way to the side.
- Remove the 9/16” bolts going through the top of the carriage.
- Remove the nylock nut from the bottom of the carriage and remove carriage from the subcarriage.
- Remove the two 1/2” nuts from the bolts on either side of the exposed carraige.
- Position the angle notcher by inserting the bolts on the bottom into the matching holes on the subcarriage.
- Slide the holes on the back over the exposed bolts and replace the nuts to tighten.
How to Replace the Angle Notcher with a Standard Carriage
- For this task, you need 9/16” and 1/2″ wrenches with extension (having a rachet or impact drive will help)
- Remove the nut from the bolt on either side of the T-bracket using the 1/2” wrench and carefully remove the angle notcher.
- Position the standard carriage by inserting the bolt on the bottom through the center hole of the subcarriage. Place a nylock nut on the bolt but do not tighten.
- Attach the carriage using 9/16” bolts on left and right of the carriage, holding it in place with nylock nuts on the back. Make sure carriage is straight
- Tighten all nuts to secure the carriage.
Learn More About Swenson Shear’s Standing Seam Notcher
To request a quote for Standing Seam Notcher or our towable SnapTable PRO, contact [email protected] or call (877) 588-8748.


